How to recover deleted pictures from different storage media?
In Order to recover deleted pictures, first you should connect your memory card with computer system. Then start recovery process.
After installation of Memory card recovery software, initial screen is displayed as shown in below screen:-
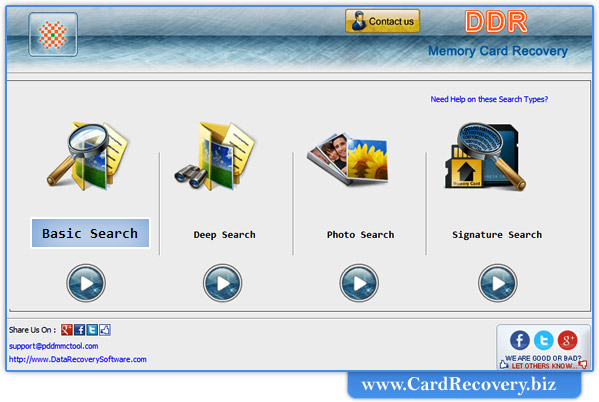
First select search recovery modes including Basic Search, Deep Search, Photo Search or Signature Search.
In the page, we will discuss how to recover files from memory card using Basic search recovery mode.
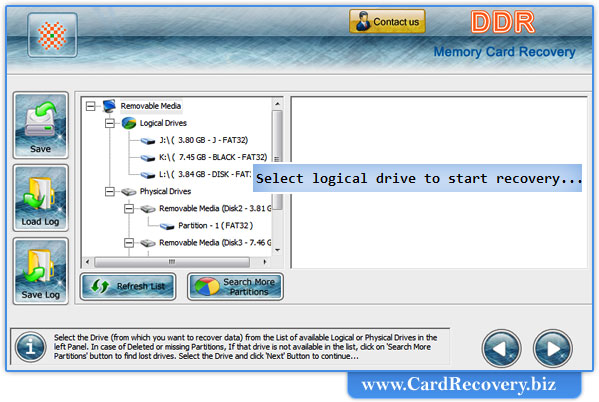
Step 1 : Select disk for Recovery
Select disk in the available logical or physical drives from which you want to recover data
Step 2 : Select Searching Criteria
Memory card recovery software searches lost data:-
- In specific partition
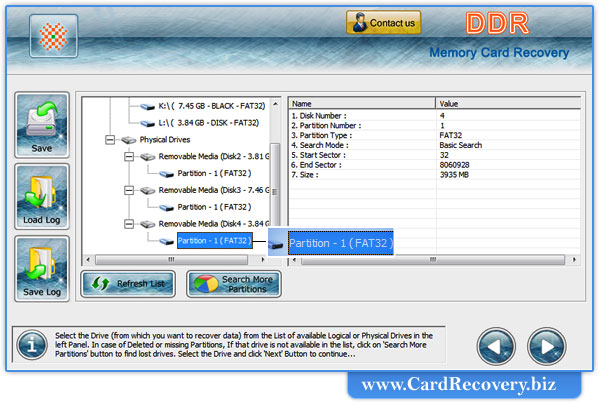
If you want to search lost data in a "specific partition of disk", Select the partition from which you want to recover data.
Now Click on “Next” button
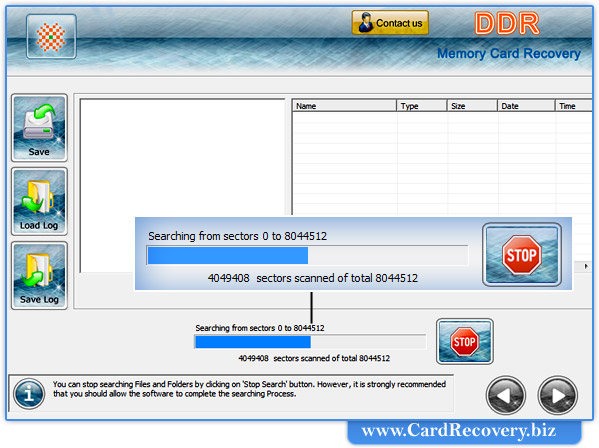
Step 3 : Scanning Process
Wait until software completes disk scanning process.
Step 4 : Select files to save
Scan result is shown in tree structure.

Select the folders from Left Panel Directories Tree and click on "Save" button in Toolbar or right click to save recovered files and folders.
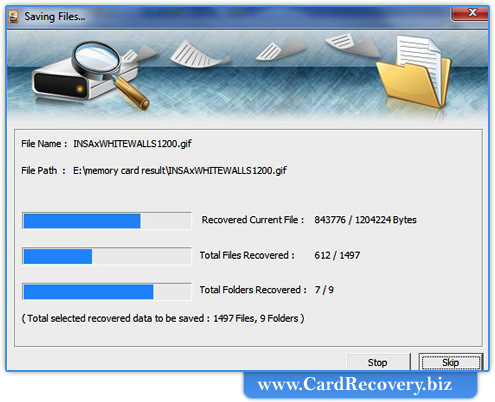
Start saving recovered data by clicking on “save” button.
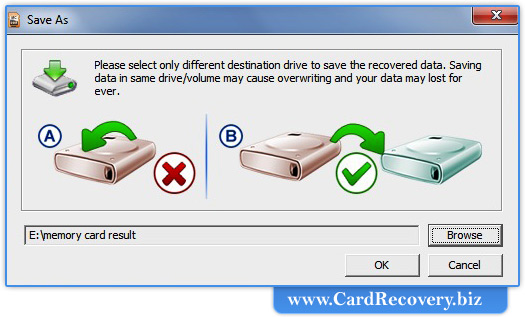
Now click on “browse” to select the destination path, where you want to save data.
Note: Please select only different destination drive to save the recovered data. Saving data in same drive/volume may cause overwriting and you may lose data for forever.
Click on “OK” button.
Then start saving the selected files in selected destination path as follows: